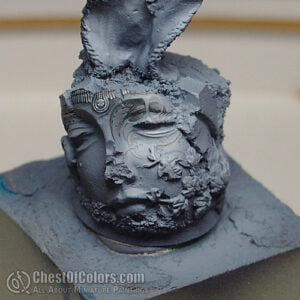
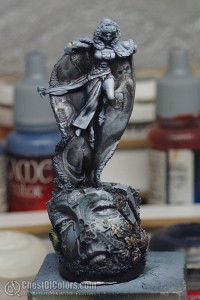
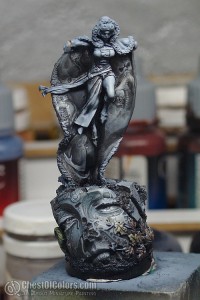
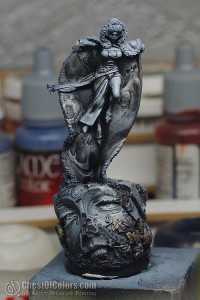
I’ve been a great fan of HR Giger‘s art for years. Nothing unusual among us, fantasy and sci-fi fans. But being a miniature painter I always wanted to paint a miniature in a style inspired by HR Giger’s art. When I wondered how to paint Rasputina from Wyrd Games, the concept came to my head…
Everything became clear immediately when I grabbed the base that I chose for the model. The image I had in my head was so strong that I can’t even think about how disappointed I would have been if the customer would have said “no” to my concept.
[inset side=left]I wanted the paintings to immediately remind of Giger’s work.[/inset]
But how can you be surprised? If the whole world is so full of Giger references, how can my little head be an exception? I started with what I had a complete idea ready for – the face on the base (from Scibor Monstrous Miniatures).
My intention was not to copy any particular artwork, but more along the lines of using it as inspiration and fitting it into my own compositions. Still I wanted the paintings to immediately remind of Giger‘s work.
Is there anything that I regret now? Oh, yes. The fact that I didn’t decide to put screws in her cheeks. The idea is still on my mind, maybe to be used one day?
How to paint Rasputina’s base
For the base my inspiration were these two paintings:


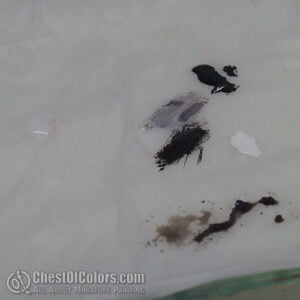
Here’s my initial color palette, the colors that I started with.
And the brush that I chose for this part of work. It was going to be fine-detailed painting, so a 3/0 brush from Raphael 8404 series was a good starting point.
And off to painting we go…
While painting such parts remember to take advantage of being able to rotate your model. Adjust its position so your brushstrokes aren’t too much of a challenge to pull off.
[inset side=right]I turned my model upside down, so the rounded shape didn’t require any corrections.[/inset]
Here I wanted to achieve a nice, rounded finish for the stripes, so I turned my model upside down so I could pull the brush from the top downward, so the rounded shape didn’t require any corrections.
I know that everybody is holding their brush in their own way, so I recommend that you pay attention and observe the way you’re working with your brushes, so that you can take advantage of your own work style. Such little details make painting much more enjoyable and faster.
I added little touches like the shadow under the diadem. They may seem to be only minor things in the overall picture, but I found they add a lot to the feel and completeness of the whole paintjob:
Sometimes I thought it would be better to break the surface into smaller ones somehow. And in fact sometimes I treated this idea quite literally. 😉
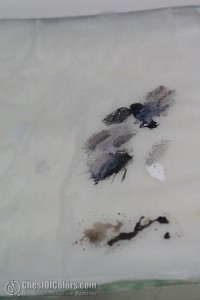
And this is what my palette looked like by the time I finished painting the head. Much richer than at the beginning, isn’t it? 😉
Now here is a photo of the finished head. This photo shows its colors, tints and hues much better than my humble WIP pictures:
How to paint Rasputina’s cloak: front
Here’s what I started the cloak with:

For the cloak I chose motifs that would look good in the composition, but also the ones that I liked more.
Sometimes shapes or edges of the sculpt suggest me where to place those motifs. A photo is always flat, so you may have difficult time noticing the reasons why I placed those details the way I did…
When I planned how to place the first three graphic elements, the surrounding space inspired me with its shape and shadows to arrange it this way, with the skull and female body:
And here’s another motif from Giger, arranged to follow the edge:
And the lower right part, below Rasputina’s feet, just begged to be painted with those… let’s call them “fishes” for political correctness’ sake:

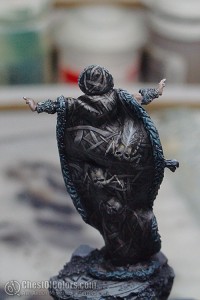
When I covered all the surfaces with freehands, I considered the front of Rasputina’s cloak done:
How to paint Rasputina’s cloak: back
I got a bit distracted and forgot to catch the earlier stages of painting this element on my photos, so here’s the first shot of this part I managed to get:
There were two paintings from Giger that were my inspiration for this part of my paintjob:


This time I had to start with some larger shapes, so I started with a larger brush. A 1 from Raphael 8404 series:
I planned to place the skulls on raised parts of the surface and started painting the weaved pattern. The way I painted it will be easy to follow on the next few photos. Painting such plaiting could be explained in a few points:
[inset side=right]Painting plaiting could be explained in a few repeating points.[/inset]
- sketching the lines,
- separating them with the classic black line, creating a chaotic plaiting,
- glazing over the whole surface,
- adding more lines,
- separating them with the classic black line, creating a chaotic plaiting again,
- adding another layer of highlight on visually more raised lines to emphasize zenithal lighting of the model,
- glazing over the whole surface again,
… and so on, until I ended up with what you saw on the photo above. See the whole process on the following photos. After this the surface was ready to paint a few skulls on it.
To add some color variation between the elements – the skulls and the background, I shaded the skulls with a slight addition of this color:
Although it is not a huge difference, it brings them a bit forward and sets them off from the background, as you can see on this photo:
Adding the fern
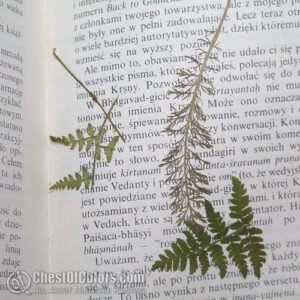
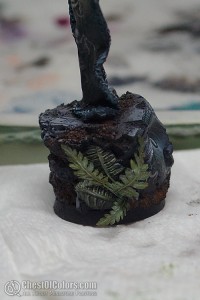
Now that the main model was painted I decided to tweak the base a bit, so I can also show you how I played with the fern:
Despite all my admiration of this pattern of bases, I must admit that the way those floral motifs are sculpted is not making painting any easier. I decided to cover them a bit, but to tie the real fern a bit more with the sculpted ones, I had to exaggerate a bit on the real thing, making it a bit grotesque:
[inset side=left]I used strong hair modelling gel to shape the fern[/inset]
As you can see I applied some glazing and then drybrushed highlights on it before applying the fern on the base. Later I only needed to tweak shading a bit, and adjust the shape of my fern.
I used strong hair modelling gel to shape the fern:
See how it added some detail and depth to the base?
Finished model
Done! My model was ready.
Now you can see which bits from Giger’s paintings were my inspiration for which parts of my paintjob.
Here’s the finished paintjob. I think the question “how to paint Rasputina” has at least one answer now. Not the only one for sure…
But if you happen to have any more questions, feel free to ask them. I will try to answer and offer my help where I can.
I am really curious what you are going to do with your interpretations of this little miniature. Looking forward to seeing your versions!
Want more?
[inset side=right]This special pack includes the tutorial enhanced with even larger photos.[/inset]
Although this is already the whole tutorial that I prepared for you, and I think the size of photos is completely sufficient for understanding the process and concepts behind my paintjob, we prepared some kind of a gift for some of you! Or actually a way of saying THANK YOU to those who offered donations that help us run the website.
This special pack includes the tutorial enhanced with even larger photos. They allow to see details that you might have difficult time spotting even in real life, including flaws, imperfections and often even individual brush strokes.
So if any of you decided to share a donation with us and let us know you are interested in the bonus, and we’ll make it available to you. This is our way of showing our gratitude for supporting us.
Thanks for your interest and enjoy the tutorial!


