I would like to share with you my first impressions of Textured Rolling Pins that I purchased recently from Green Stuff World.
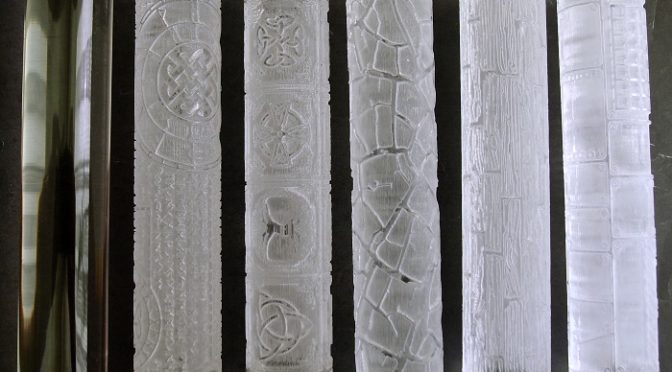
I bought Textured Rolls Pack v2.0 which contains 6 rolls:
– 1 rolling pin plain (no texture) – used for extending the putty to smoothen the surface before impressing with other textured rolling pins
– 1 rolling pin Runic
– 1 rolling pin Celtic
– 1 rolling pin Frozen
– 1 rolling pin Wood planks
– 1 rolling pin Factory ground

They are about 140mm long and 25mm wide.
The cost of this set (including shippment) is 50 EUR (59 USD), which is not cheap. But when you consider how many bases can you make with those tools…
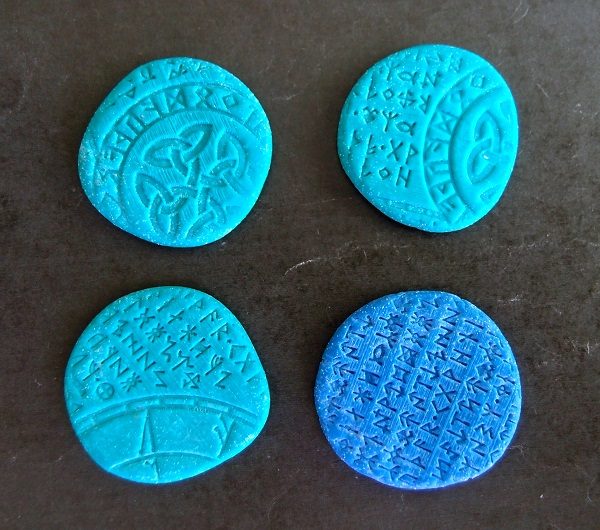
I made first tests using Runic rolling pin. I didn’t have anything else at hand, so I used my daughter’s modelling clay – hence those vivid collors. Don’t worry – it will be painted 🙂
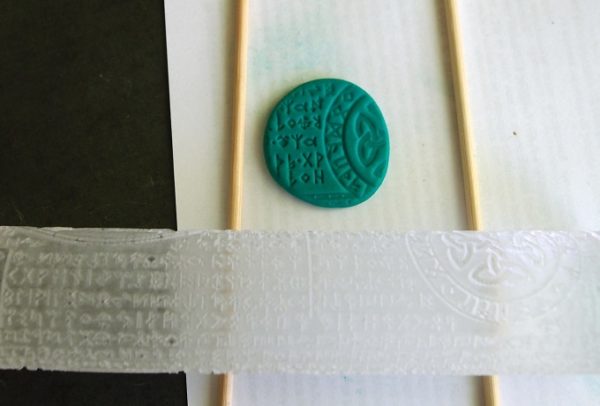
After extending and flatting the clay to a small disc (in size of 30mm base, about 3mm thick) I transfered the texture to the putty.

As you may see, I used 2 toothpicks to get even surface when rolling the pin. It looked really OK. Sculping It would certainly take me a lot of time! I made a few more and put my production to boiling water for about 25 minutes to harden it.

After cooling down I crushed the edges to make them more irregular and sharp. Then I glued the textured discs to the bases using epoxy glue. I broke some discs to make it more interesting and to suggest ancient provenance of the stone floor.

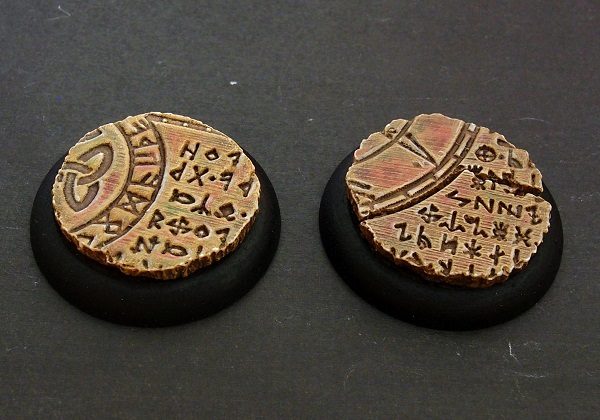
Here is how two of the bases looks painted:

It’s not much except base paint, wash and drybrush. I wanted to paint them as quick as possible – there are much more bases to make! I think the effect is really good, considering that “sculpting” 4 bases and painting 2 of them took me about 45 minutes.
What minis will I put on those bases? I’ll show you that in my next post 😉

