CP's WIP's and learning place :D

Post your "Work In Progress" photos here.
Forum rules
Post pictures and discussions regarding works in progress here, please. If you have photos of these works when they're completed, feel free to post them to the right section and feel free to add the link in your post about the work in progress.
Cyberpaddy66
Posts: 680
Joined: 3 Jun 2008, o 13:22
Location: Cornwall :D
Contact:

CP's WIP's and learning place :D

Post by Cyberpaddy66 »

First of all I'd just like to say sorry for not posting a direct link but I've misplaced my originals so I'm having to post links here to the cool mini site where I got this site from actually :wink:

First I'll post a couple of my "finished" works (I can hear the giggles building up already :oops:) for your ridicule and dissection :lol:

Minatour (I think it's a GW one but I'm not sure it's THAT old)

ImageClick to see full-sized image

I know the picture is not good but this was my 1st mini I was proud of so any comments on what I did wrong will be eagerly read.

One Eyed Elf (again possible GW)

ImageClick to see full-sized image

Not too happy with this guys face or the sand like texture to his skin and clothes :?

Finally...

Chaos Cross Bowman (Probably GW)

ImageClick to see full-sized image

Now this guy I had to do lots of re-modelling (no green stuff though) as his bow had no string and was attached to his head, some energetic file work and cotton thread stringing sorted that out but the colours leave a lot to be desired, oh BTW the "gravel" is actually painted poppy seeds :lol:

NOW for the WIP stuff... Er hang about I need to get them off my camera, please bear with me :roll: :lol:
Cyberpaddy66
Posts: 680
Joined: 3 Jun 2008, o 13:22
Location: Cornwall :D
Contact:

Post by Cyberpaddy66 »

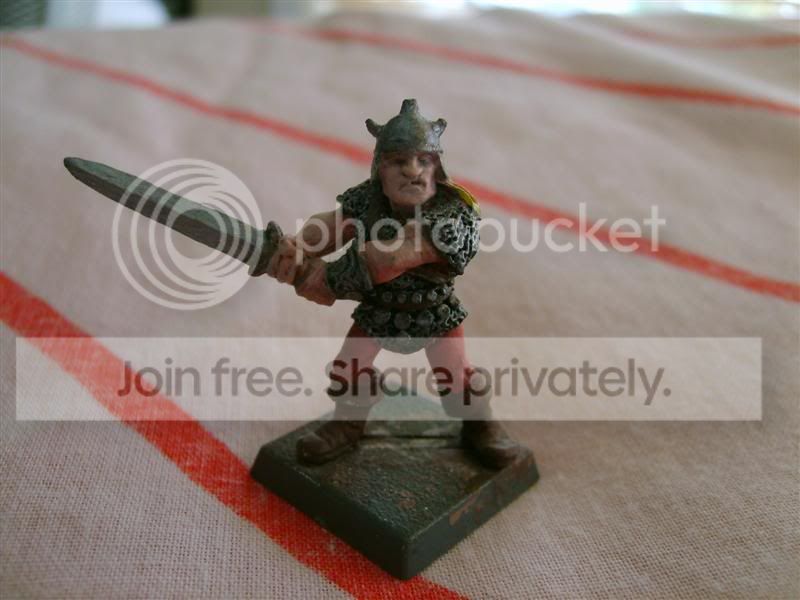
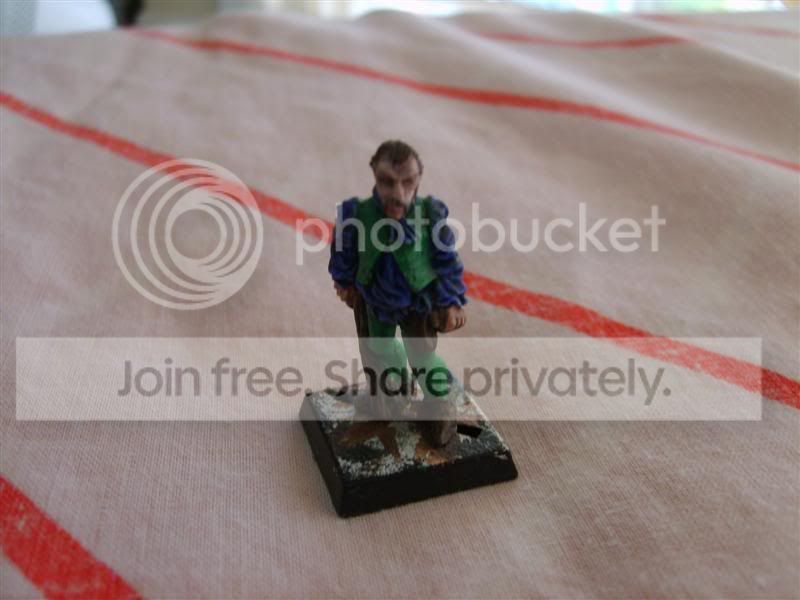
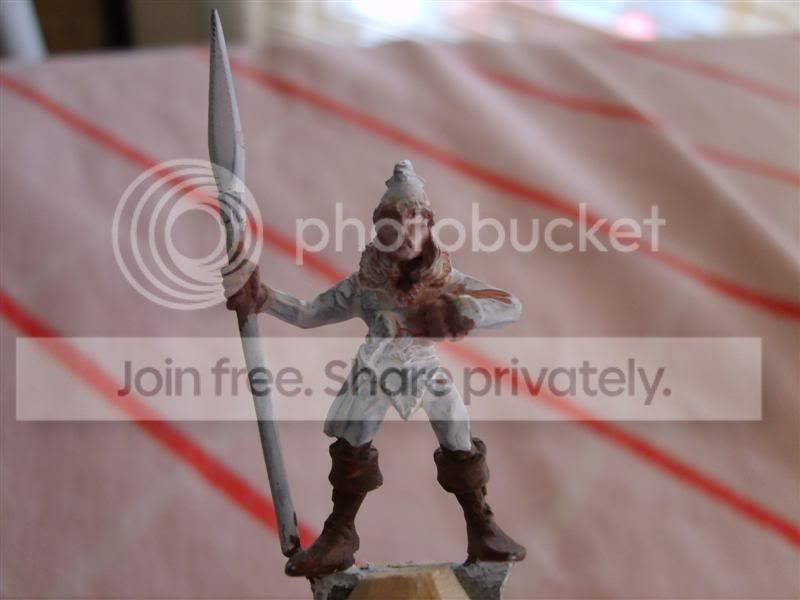
Right, got them now so here's a few of the one's I'm working on currently.

ImageClick to see full-sized image

ImageClick to see full-sized image

ImageClick to see full-sized image

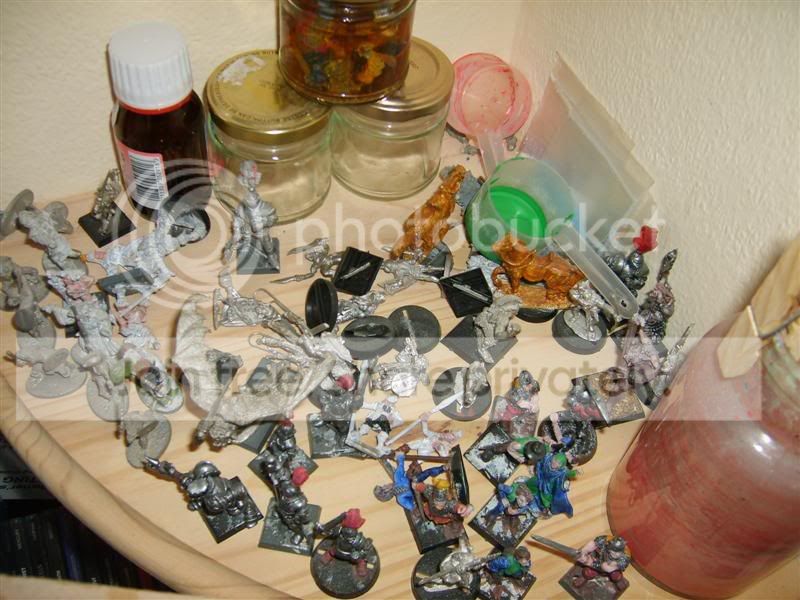
And just so you can see that I have to work with here's my current storage area for my figures...

ImageClick to see full-sized image

I mix all my own paints from basic acrylic Primary Colours (the GF used to date a graphic artist and helps out lots) and I also use Silver and Gold for the metallic bits.

Next stage for me is to learn about thinning paint and adding stuff to the mix for better coverage / definition.
Demi_morgana
Chest of Colors
Chest of Colors
Posts: 15233
Joined: 9 Apr 2005, o 02:51
Location: Eldorado
Contact:

Post by Demi_morgana »

I think You could improve final look of these models with simple tricks :)
paint bases' edges black to make them look clean and "sharp" and try to use more watered down layers of paint instead of less thicker layers;
that will give the models very smooth look;
and the last think coming to my mind now - You can try to glaze sand on bases with some natural color (green? brown?) to make it a bit more realistic :)
Last edited by Demi_morgana on 4 Jun 2008, o 14:29, edited 1 time in total.
Image

Hobby blog

Katoliku uważaj!
ToMaZ
Expects too much, too
Posts: 4922
Joined: 10 May 2005, o 19:17
Location: Belgium, Maasmechelen
Contact:

Post by ToMaZ »

Yup, you need to thin your paints more and use a couple of thin layers instead of thicker layers. How much you need to thin the paint depends from brand to brand and from color to color, so you need to experiment a bit.
You might want to try out some P3, Vallejo or GW paints. Simply because it's easier than mixing your own paints. Of course, if you want to stick to that method, that's fine :)

Maybe you could say what you have the most problems with?
---ToMaZ---

Try honesty...
Skrit
Needs more explanation
Posts: 10608
Joined: 9 May 2005, o 15:34
Location: The Netherlands, Breda

Post by Skrit »

Washes and more thin layers are your best friends here mate.


Also your bases could improve a lot. Thinner sand and some rocks here and there would be good I think...
Cyberpaddy66
Posts: 680
Joined: 3 Jun 2008, o 13:22
Location: Cornwall :D
Contact:

Post by Cyberpaddy66 »

Thanks, just the sort of advice I was looking for :D

I will be experimenting with thinner paints and additives like washing up liquid and PVA soon but for now the whole lot are in a box until I finish painting...


The kitchen :lol:

As to the bases I've not really tried much apart from PVA and kitchen herbs for now, I'll get some fine and course grade sand and experiment with those too, I'm a little uncertain whether to just make my figures into "gaming" figures or go the whole hog and do "diaramas".
Cyberpaddy66
Posts: 680
Joined: 3 Jun 2008, o 13:22
Location: Cornwall :D
Contact:

Post by Cyberpaddy66 »

Well 1st test has hit a wall, I'm trying to mix my own paints from artists acrylic, the colour is fine until I start to water it down (with a washing liquid and water mixture) but the water is stripping the yellow from the paint :S

I was wondering if anyone could give me a correct Washing Liquid to Water ratio for watering down paints as I do believe I'm using way too much washing liquid.
Getting back into the thick (or rather thin as in thinning my paints) of it, not picked up a brush in some time so this may hurt a bit until I get used to the feel of them again :doh:
mahon
Super Villain
Super Villain
Posts: 23961
Joined: 31 Mar 2005, o 23:36
Location: Poznan, Poland
Contact:

Post by mahon »

Unfortunately I have no experience with artists acrylics...
I used them a bit but the results were not as good as with other brands of paints, so I returned to 'dedicated' miniature paints.

Artist's acrylics seemed to be thicker but less pigmented. That was my feeling about it. And their adherence to surfaces was weaker than miniature-painting acrylics...

As for washing liquid, well, I add one drop per glass of water. Just enough to break surface tension, but not enough to make painting difficult.
-- Mahoń

Image

Back in the garage with my bullshit detector
Cyberpaddy66
Posts: 680
Joined: 3 Jun 2008, o 13:22
Location: Cornwall :D
Contact:

Post by Cyberpaddy66 »

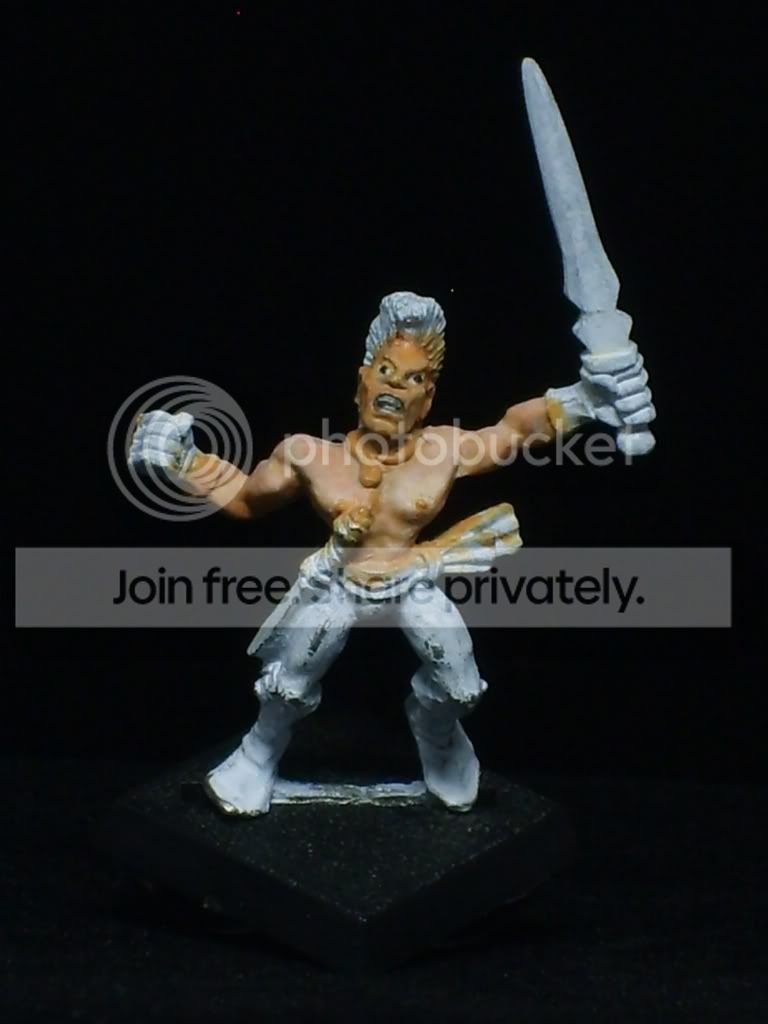
Well here's my update at last (I really am a lazy git :lol:) and I have to say apart from looking like Marty Fieldman :oops: I am very happy with the way the skin is turning out, the face needs more work and none of the 'extras' have been worked on yet it's just the upper body and the face so far.

ImageClick to see full-sized image

Thanks Mahon for the washing liquid amounts, this one's MUCH better than the last batch of colours :roll: and seing as it's ony my 6th model I've ever worked on and my 1st model since singing up here I have to say I'm looking forward to the day when I can do the face without having to re-wash it several times :lol:

OK Lighting directly above and slightly forward of the figure from a Daylight Angle Poise rig and my new Lightbox, the black background makes the figure stand out more then the white did :D as for the settings it was ASA 400, no white balance, 0.5s shutter speed on a tripod with the F stop at about 12, my camera is a Samsung S500.
Last edited by Cyberpaddy66 on 2 Jun 2009, o 22:59, edited 1 time in total.
Getting back into the thick (or rather thin as in thinning my paints) of it, not picked up a brush in some time so this may hurt a bit until I get used to the feel of them again :doh:
Skrit
Needs more explanation
Posts: 10608
Joined: 9 May 2005, o 15:34
Location: The Netherlands, Breda

Post by Skrit »

That's looking alot smoother already mate. :)!
Post Reply