Ok so here we go
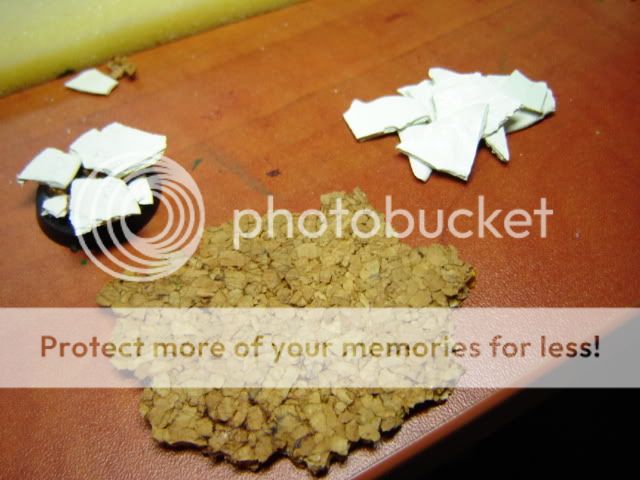
All we need is
1. A tad of cork
2. Some miliput tiles
 Click to see full-sized image
To prepare miliput tiles you will need :
a. Miliput
 Click to see full-sized image
b. some foil (e.g taken from a shop bag - not too rigid - we need it to give the tiles a texture)
c. About 6 hours
First of all you need to mix both the ingredients for miliput.
Then you place it between 2 sheets of foil, and flatten with something (I used a regular jar) you can use a roller too
The foil will give the desired texture to the miliput
Then we leave the flattened piece of miliput on a radiator, or in any warm place.
After about 6 hours the tile will be hard and ready for crumbling
We need to get some small tiles.
I'm using a regular cork as a base for the whole thing - the cork gives a better 'grip' for the super glue and allows to pin the mini to the base
So first of all we glue some cork to the base - using super glue.
Then we add the tiles - try to place them so that they look like naturally- like cracked ground or something. You can also change the degree of the tiles- you don't have to place them flat - cutting off some cork vertically at an angle allows to get nice rocks
You can add the tiles at different levels, and generally there are endless possibilities to preapre a base this way
After you glue the tiles to the base it looks like this:
 Click to see full-sized image
then you take
PVA glue and some sand.
Add the sand in random spots, wait untill it dries and it's ready!
All you have to do is to check whether your mini fits on the base
Now for the painting
Spray the base black, use additional brush to paint the hidden areas black - it looks kinda weak when you can see white tiles / unpainted cork , or sand in some areas
For the desert/barren lands scheme I'm using :
Base: Graveyard earth (painted all over the base)
1st highlight: Vallejo Model Colour Ochre (drybrush)
2nd highlight:Reaper(?) Tanned Leather (drybrush)
3rd highlight :Vallejo Model Colour Iraqui Sand (drybrush)
4th highlight :Bleached bone(light drybrush)
final highlight :White (drybrushing the edges)
After this we get rather a boring base with the same colours everywhere...
Now we need to add some details
So first we wash all the sand areas with Vallejo smoke ink. Several thin washes will be ok. Don't worry if you'll wash the area around the sand - this will also add some character to the base.
After the sand gets brownish, we need to highlight it a tad again using all the paints we previously used.
Now we need to fit the mini again, and drill places for the pins - the tiles are pretty flexible and glued to cork they won't break.
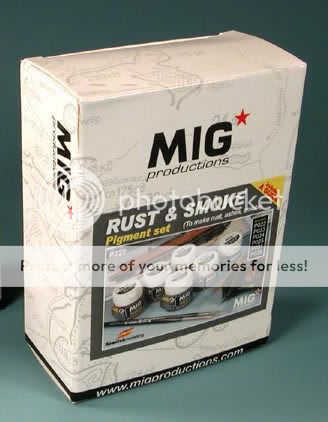
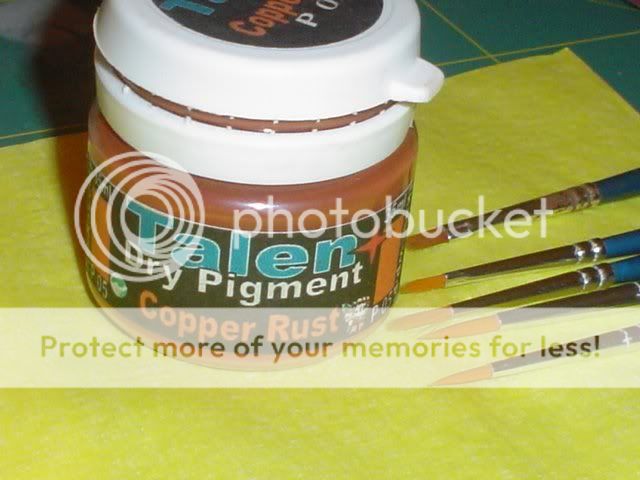
After we prepare the holes for the pins we can also add some dry pigment used for staining Historical Models - looks like dust - there are many colours available
Here's an example of pigment set:
 Click to see full-sized image
 Click to see full-sized image
It's used dry - you need to brush it into the base - it's easily removed, so rmemeber about varnishing the base!
Now I placed the mini on the base, and added additional small stones (or pva glue + sand) under the marines legs - there were gaps visible there - needed to fill it
After doing this I used the pigment to mask the stones/sand again
Now it's good to varnish the whole thing - the pigment won't fall off the base this way.
The last thing is adding static grass or moss - I used the one that you can get in GW's hero basing kit - straw,a lso added small foliage that you can get in local hobby stores.
Here are 2 examples of finished bases :
 Click to see full-sized image
 Click to see full-sized image
 Click to see full-sized image
 Click to see full-sized image
 Click to see full-sized image
 Click to see full-sized image
 Click to see full-sized image
If anything is not clear - please ask
Hope it will be helpful
Hash


