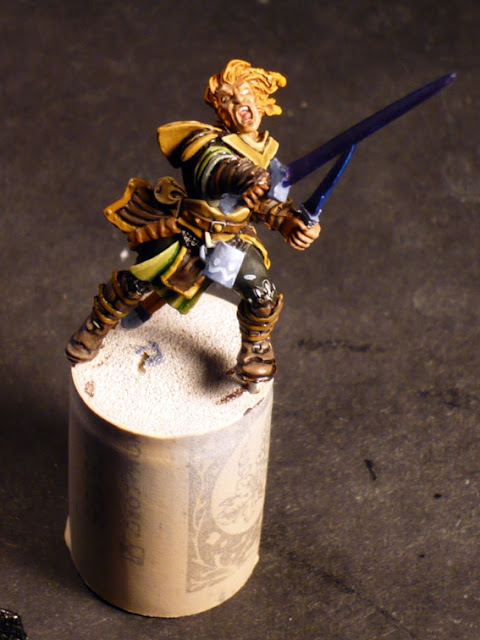
I like this Mini as it is not as static as many others and hopefully I will be able to arange it the way it looks like hes jumping off something or onto someone/thing whatever... We will see.
So thats him fresh from the box
 Click to see full-sized image
I get all my things together to start assembling
 Click to see full-sized image
First I take off the metall bits and pieces that dont belong where they are and drill a whole in the bottom of the mini to fix it on a cork as I use to do for painting.
 Click to see full-sized image
Also I usually drill holes into the feet so I can later use pins to fix the Mini to a base.
In this case one pin went into the bottom, one in a foot, which is really tricky as Gwahyrs legs are so thin you really have to be careful not to drill holes in them...
Now it looks like that,
 Click to see full-sized image
The arms get pins too...
 Click to see full-sized image
 Click to see full-sized image
Now Gwahyr is ready to be put on his "working base". Usually I glue a piece of fake rubber cork (easily available by finishing a bottle of wine befor working) onto a base as a stand, The good thing about them fake corks is that you can simply stick the pins into them. They hold the mini strong enough whilst working on it and later its easy to pull the mini and his pins back out.
 Click to see full-sized image
Here we go...
 Click to see full-sized image
Now I glue on the head (I admit, I pinned the head too, I like the thought of the mini being kinda robust

 Click to see full-sized image
Next step is filling unwanted gaps with green stuff.
 Click to see full-sized image
 Click to see full-sized image
Now he looks like this and waits to be primed...
 Click to see full-sized image
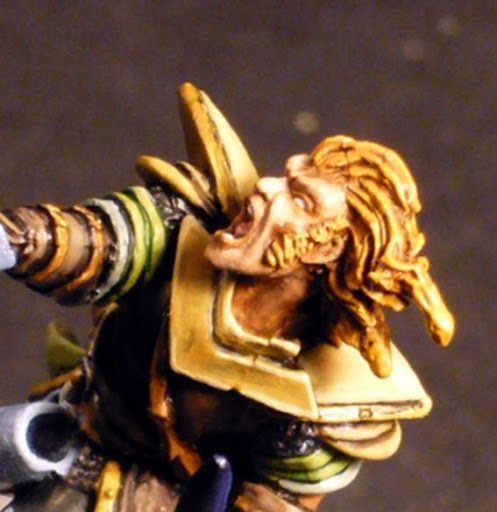
Hopefully, if the primer gets here soon, there will be more colorfull pics shortly.


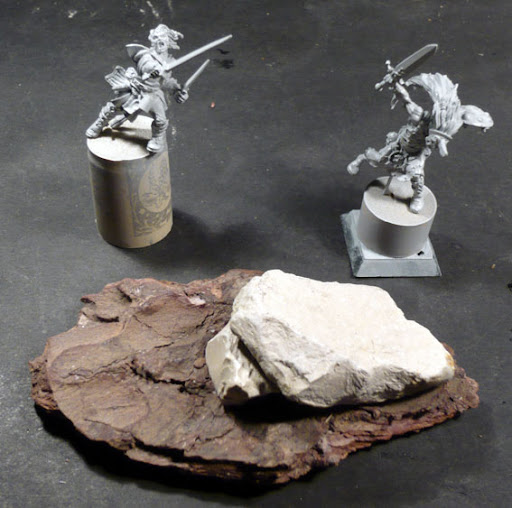 Click to see full-sized image
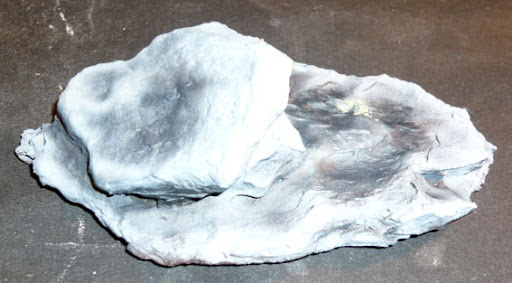 Click to see full-sized image
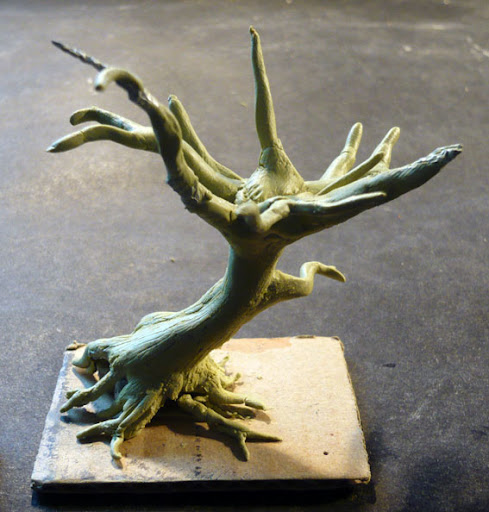 Click to see full-sized image
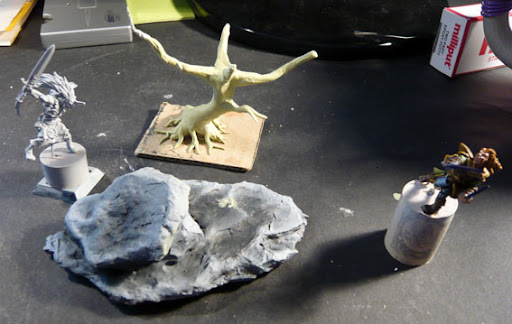 Click to see full-sized image
 Click to see full-sized image
 Click to see full-sized image