While working on my latest commission, I had to find out how to make lava for the model’s base.
Introduction
I already did several lava bases. So in order to avoid boredom I had to come up with a new idea or end up with boring and uninspired results.
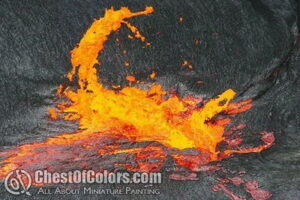
So I returned to browsing the internet for photos of lava:
Now this is something I haven’t done before! 😀
What we need to make lava
How to make lava that is boiling and splashing? We will need:
- sheet of plastic (I used a thick plastic sleeve)
- scissors
- source of heat (I used a candle)
- filler putty (I used a modeling putty for plastic models)
- Vallejo Water Effect
- hygroscopic balls (you will find them in a new wallet or handbag, where they’re supposed to absorb moisture)
- Maskol
- foam
- airbrush (you can do without it, but I used mine)
- paintbrush
- paints: white, black, Vallejo MC 952 Lemon Yellow, Vallejo Ink Skin Wash, Winsor & Newton Orange Ink, Vallejo MA Mahogany, Reaper Red Brick 09001, and saturated red of your choice.
- retarder (because regular Vallejo paints tend to clog my airbrush)
So how to make lava like that?
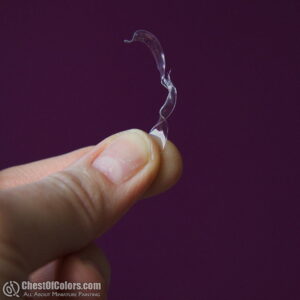
I pulled, stretched and bent stripes of plastic over fire:
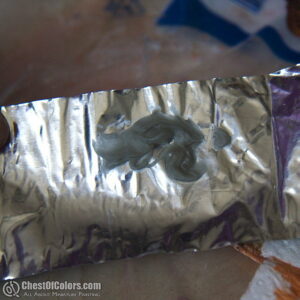
I made a test application of the lava surface on a sheet of metal. The consistence of my putty made it a suitable material to imitate lava:
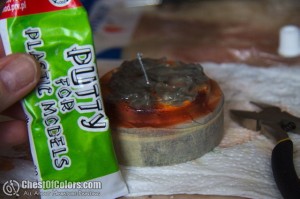
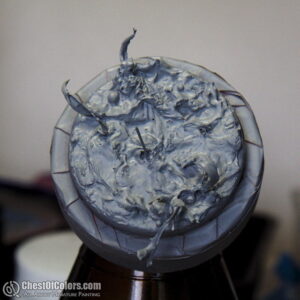
I ruffled the fresh putty with a toothpick and added the splashes I formed from plastic:
When the putty was dry, I finished the rest of my lava base with Vallejo Water Effect. Its thickness is similar to that of mayonaise, so it feels perfect for the task. If you want to make finer splashes of lava than mine, you can apply some water effect on a piece of thin wire:
Painting lava
I left the base to dry overnight and in the morning I started with priming the base. Then I used my airbrush to apply several layers of paint to build up colors of lava:
I checked if it fits to the scenic base:
I could see I was going in the right direction. Now I only needed more contrast, so I returned to painting.
I highlighted the hottest parts once more with Vallejo MC 952 Lemon Yellow. Once more I applied Winsor&Newton Orange to increase saturation. I glazed some parts with my red. And then with the side of a paintbrush I painted cooled cracks with Reaper Red Brick 09001 and black:
Finished lava base
Finishing touches were done later, when the model for which the base was made was ready. Now you should know how to make lava splashes for your minis and see the finished thing here:
I hope this tutorial was helpful to you. If you have any hints or tips, feel free to let me know about them or discuss this technique in the comments below.
— Ańa








That is just great, thank you Ana!
Thank you so much for the tutorial. Brilliant!